

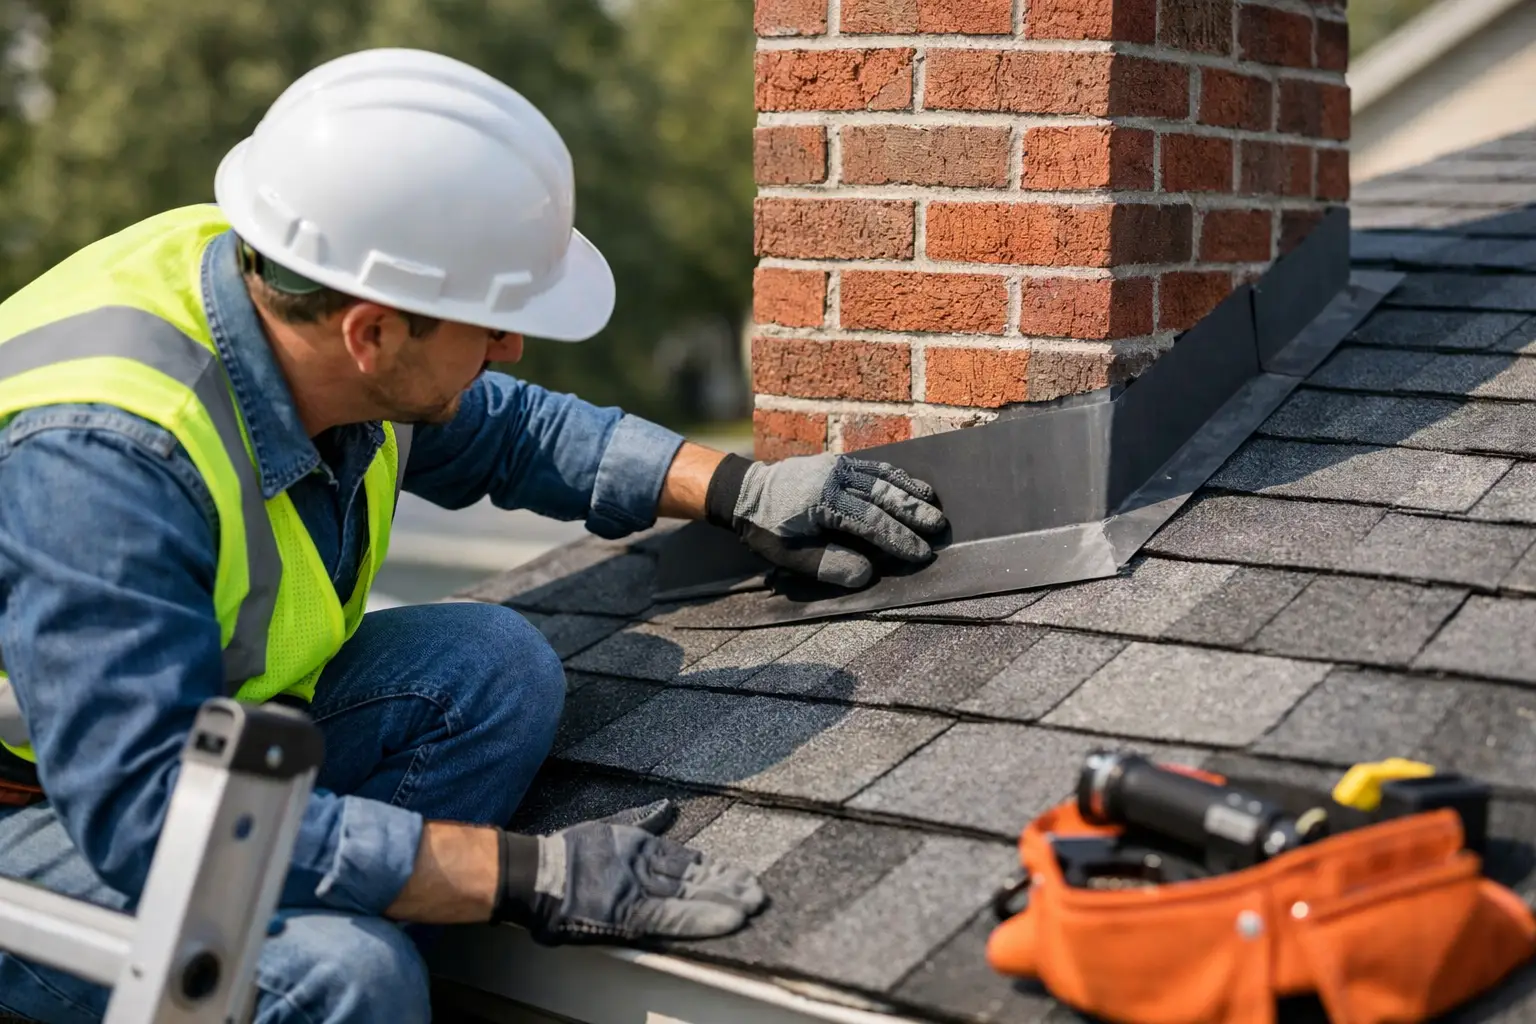
A small split around a chimney can let in far more water than most homeowners expect. Flashing is designed to protect the points where roof coverings meet a wall, chimney, skylight or vent pipe, but it takes the full force of Yorkshire rain, wind and frost. Knowing how to check roof flashing from a safe position can help you spot a problem before it becomes a stained ceiling, damaged timbers or a larger repair bill.
What roof flashing does
Roof flashing is the weatherproof material fitted at vulnerable roof junctions. On many homes in Castleford and across West Yorkshire, it is made from lead. It may also be formed from modern alternatives such as aluminium, zinc or specialist flashing tape, depending on the age of the roof and the work carried out previously.
You will usually find it around chimneys, where a roof meets a wall, beside dormer windows, around roof lights and at soil vent pipes. It directs rainwater away from gaps that tiles, slates or felt alone cannot seal.
Flashing is not meant to be a decorative finish. If it has lifted, cracked or come away from its fixing, water can get underneath it and travel some distance before appearing indoors. That is why the source of a roof leak is not always directly above the damp patch.
How to check roof flashing from the ground
Start with a clear view of the roof from the garden, driveway or pavement. A pair of binoculars can be useful, particularly on a two-storey property. Check in good daylight, ideally after a spell of rain has passed, but never during high winds, ice or a storm.
Look closely at the flashing around the chimney and any roof-to-wall junction. It should sit flat against the roof and wall, with no obvious gaps, loose edges or sections that appear to be curling up. Lead flashing often has gentle folds to allow for movement, so not every crease is a concern. What you are looking for is a sharp tear, a hole, a flap that has lifted or a section that has slipped out of place.
Also pay attention to the mortar line above lead flashing on a chimney or wall. This is where the upper edge is secured into the brickwork. Missing, crumbling or cracked mortar can allow the flashing to loosen and let water behind it. Green staining, dark marks on brickwork or a visible gap may point to water running where it should not.
If you can safely see the lower edges, check for debris trapped behind the flashing. Moss, leaves and loose mortar can hold water against the roof and interfere with drainage. Do not try to pull material free from ground level using poles or tools. It is easy to dislodge tiles, damage lead or cause something to fall.
Check the signs inside the house too
A roof flashing issue often leaves clues indoors. In the loft, use a torch to inspect the underside of the roof around the chimney breast, roof junctions and any vents. Look for fresh water marks, damp insulation, darkened timber, drips or a musty smell.
Inside rooms, pay particular attention to ceilings and walls close to a chimney breast or where an extension meets the main house. Brown staining, peeling paint, bubbling plaster and damp that worsens after rainfall are all worth investigating. Condensation can cause moisture problems too, so the timing matters. A patch that appears or grows after wind-driven rain is more likely to be linked to the roof.
Common roof flashing problems to look for
Lead is durable, but it expands and contracts as temperatures change. Over time, this movement can lead to splits, especially where a long piece has not been fitted with suitable expansion allowance. Older lead can also become thin or cracked after decades of weathering.
Loose flashing is another common issue. Strong winds can lift an edge, while failed mortar or worn fixings can allow the top of the flashing to pull away from a wall or chimney. Once rain gets behind it, the problem tends to worsen rather than settle on its own.
Poor previous repairs are worth watching for as well. A thick line of mastic or roof sealant may look like a quick fix, but sealant does not replace correctly fitted flashing. It can crack in sunlight and frost, and it may conceal a larger issue underneath. Flashing tape can be suitable for certain repairs when properly applied, but it is not the answer to every damaged lead detail.
On chimneys, check the surrounding brickwork, pointing and chimney pots at the same time. A leak near a chimney may be caused by flashing, failed pointing, damaged render or a loose pot. The visible symptom can be similar, which is why a proper inspection matters before any repair is priced.
Do not climb onto the roof to inspect it
It can be tempting to put a ladder up for a closer look, especially if the problem seems minor. For most homeowners, that is not a sensible risk. Roof tiles can be slippery even when they look dry, older tiles may crack underfoot, and ladders need secure footing and proper restraint. A fall from a low roof can cause serious injury.
There is also a risk of making the repair bigger. Walking on a tiled or slate roof can crack coverings, disturb ridge tiles and damage flashing that was otherwise still serviceable. Chimney flashing is often positioned where the roof is steepest and access is most awkward.
A safe ground-level check and an internal loft check are normally enough to decide whether you need a roofer. If there is active water coming into the property, place a container beneath the drip if possible, move belongings away from the area and avoid touching electrical fittings near the leak. Then arrange an inspection promptly.
When roof flashing needs a professional inspection
Call for a professional roof inspection if you can see lifted or split flashing, loose mortar around a chimney, missing tiles beside a flashing detail or signs of water indoors. It is also sensible to have the roof checked after severe wind, particularly if you have noticed debris in the garden or changes around the chimney.
Some faults can be repaired locally by securing or renewing a section of flashing and making good the surrounding mortar. Others need more work. If the chimney stack is deteriorating, the roof covering around it is damaged or several areas of flashing have failed, a more complete repair may offer better value than repeated patches.
The right approach depends on the roof’s age, its condition and the cause of the leak. A reliable roofer should explain what they have found, show you the affected area where practical and set out the repair clearly. Be wary of anyone who insists on major work without inspecting the roof properly or who pressures you to decide immediately.
A simple seasonal check can prevent bigger repairs
Check your roof flashing at least twice a year, usually in spring and autumn, and after particularly bad weather. Combine it with a look at gutters, roof tiles, chimney pointing and fascia boards. Keeping gutters clear matters because overflowing water can soak wall junctions and make a small weakness around the roofline harder to identify.
If your home has a chimney, roof light or extension abutment, these details deserve extra attention. They are all places where different materials meet, and that is where weatherproofing needs to be done properly.
A careful look from the ground is a useful habit, but there is no prize for taking risks on a ladder. If something does not look right, getting a local, experienced roofer to assess it early is usually the safest and most cost-effective next step.